How to install kali in vmware player : Youtube:-
About VMware Workstation Player
VMware Workstation Player is the limited capability free version of VMware Workstation Pro. That is, it is just as VMware Workstation Pro with lesser functionality. But what is available is enough for most of the home users.
VMware Workstation player is available free of cost. Earlier it was not free, but I see that VMware has made it available for free for non Commercial users. For commercial usage, VMware Workstation Pro is more suitable.
This is the download page for all the VMware products. You will have to scroll down to VMware Player option to see the download link. From here you download any VMware Products. This link will always remain valid even when newer versions of the products are released.
Step 1 – Download Kali Linux ISO image
To install the Kali Linux, we will have to first get the installer ISO image file. You can get it by visiting the official download page. Please download the 64 bit or 32 bit image depending on the system you have.
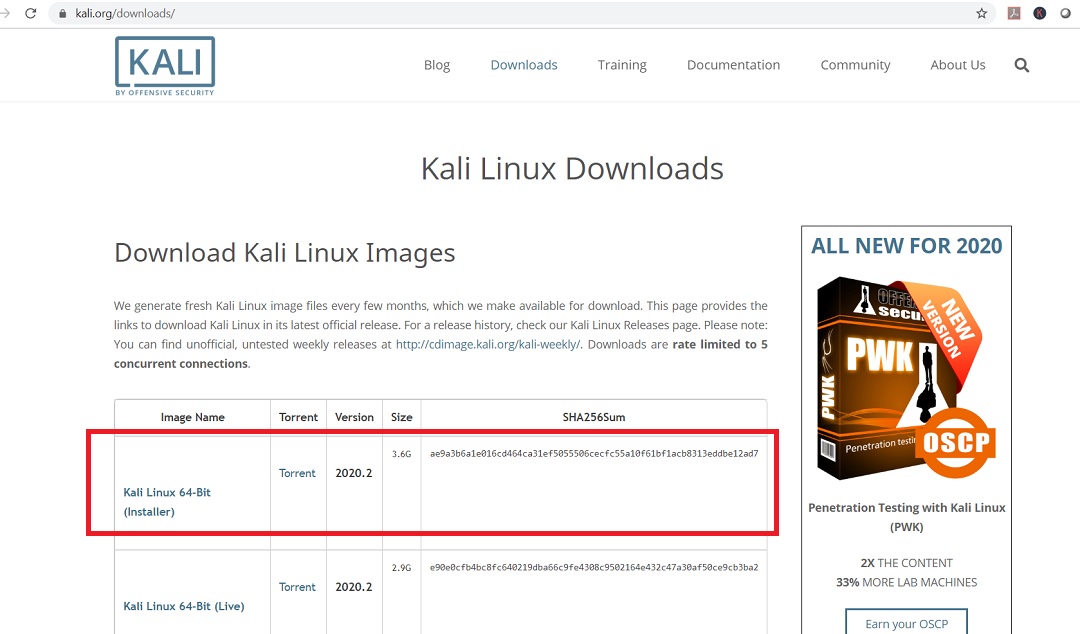
Kali Linux official download page
Step 2 – Locate the downloaded file
You can find the downloaded image file in the downloads folder, if you have not changed the default settings. The filename would be something like kali-linux-2020.2-installer-amd64.iso and would be around 3.6 GB. If you have downloaded through torrent, the ISO file will be downloaded in a folder, folder name would be something like kali-linux-2020.2-installer-amd64.iso.
Step 3- Open VMWare Player
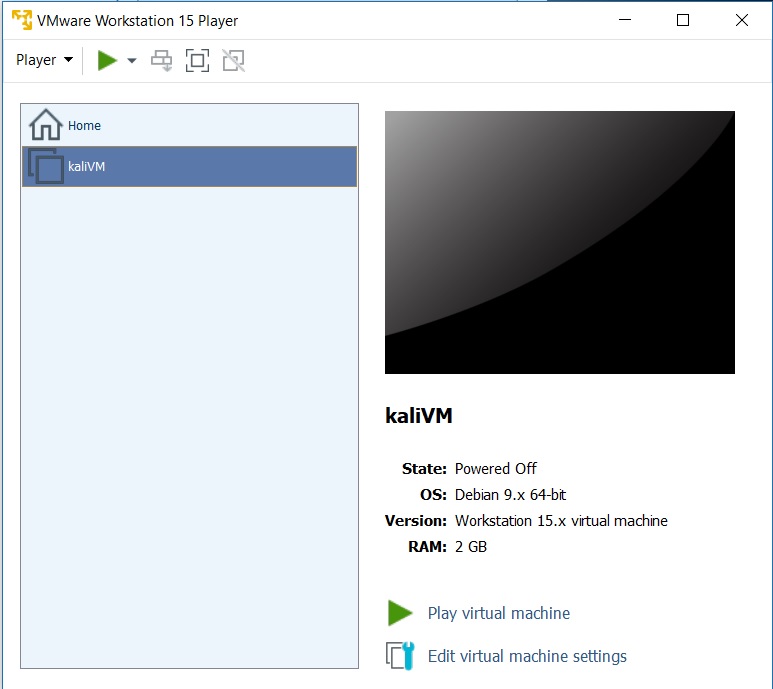
Open VMware Player from Windows Start menu or from you desktop if you have VMware Player icon there.
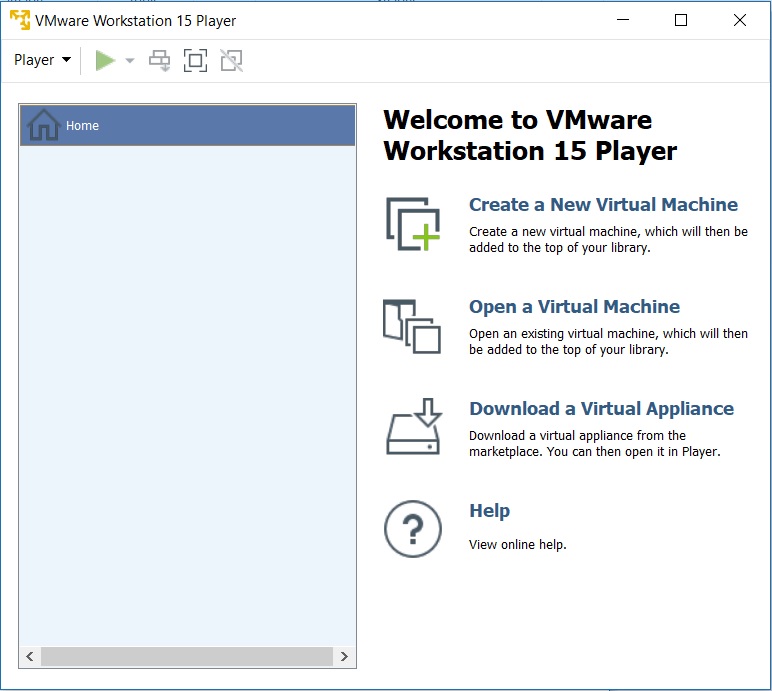
VMware Player 15 home screen
Step 4 – Launch VMware Player – New Virtual Machine installation wizard.
To launch the wizard to create a new virtual machine, Click on Create a New Virtual Machine or File -> New Virtual Machine. Welcome to the new Virtual Machine Wizard dialog box will open. Select typical and click on next.
VMware Player 15 home screen
Step 5- Welcome to the new Virtual Machine Wizard dialog box appears
You will see new Virtual machine Wizard dialog box. Click Next.
VMware Player 15 – Welcome to the new Virtual machine Wizard
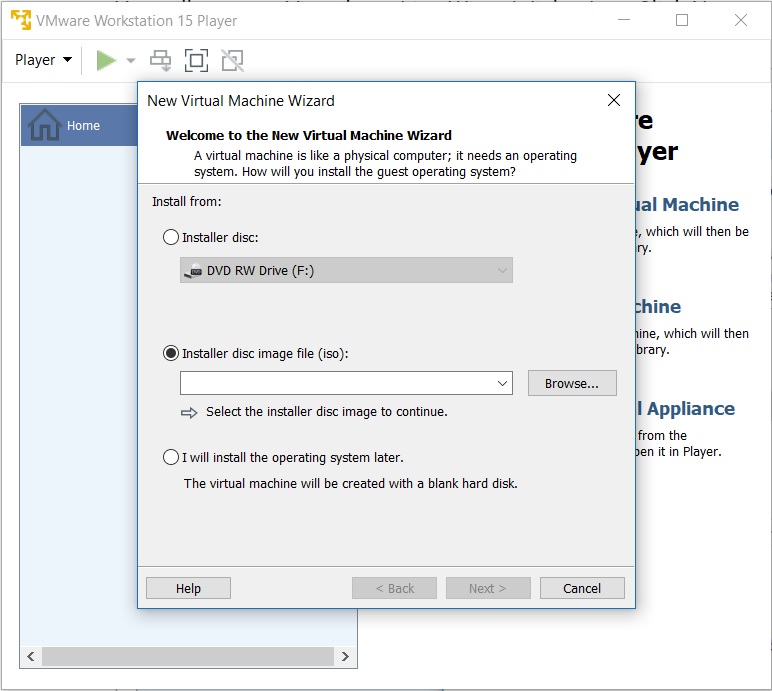
Step 6- Select installation media or source
In this dialog box you will have to browse to the downloaded ISO file and click next. Generally, VMware Workstation detects the OS automatically and initiates what they call as the Easy Install. But in the case of Kali Linux this is not the case and you will see a warning(yellow triangle). Please ignore that and click next to continue.
VMware Player 15 – Welcome to the new Virtual machine Wizard
Step 7- Select Guest Operating System
In this dialog box, you will be asked to select the Guest Operating System. Select Guest operating system as Linux and Version as Debian 9.x 64-bit or 32 bit depending on your system.
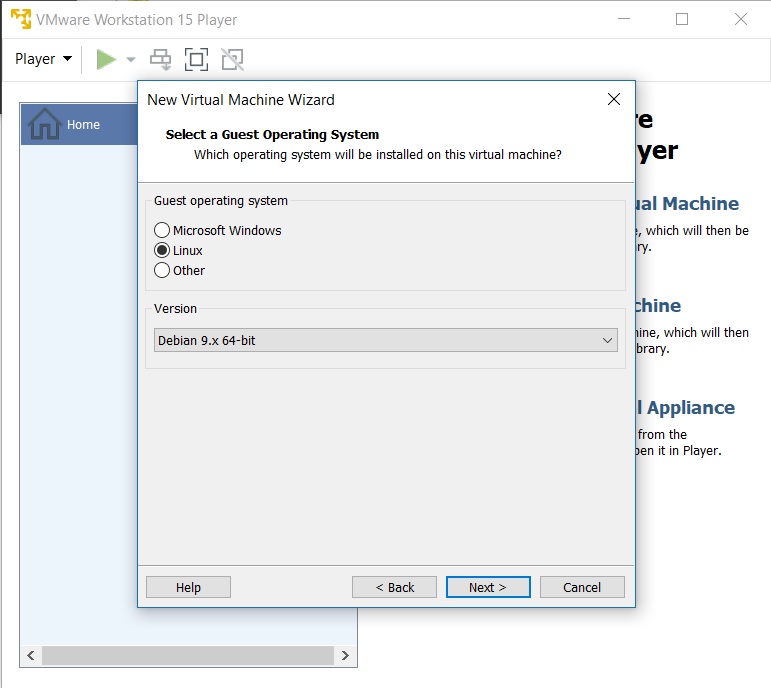
VMware Workstation Player 15 – Select Guest Operating System
Step 8- Provide Virtual machine name
In this dialog box, you will be asked to provide the name of the virtual machine. You can provide any name you like. You can also change the location of the virtual machine. By default it is place in the Documents/Virtual Machine folder. Leaving it as the default is also fine.
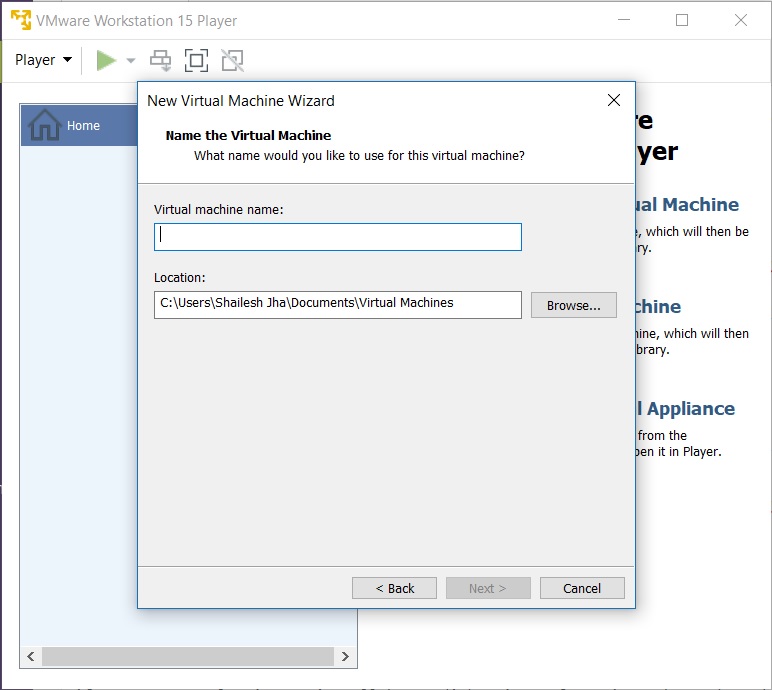
VMware Player 15 – Virtual machine Name
Step 9- Specify disk capacity
This dialog box asks you to specify the disk capacity. This is the maximum amount of disk space it will utilize once the Virtual Machine is created. You can leave it to the default but if you are running low on disk space, you can reduce it to 20 GB. This is generally sufficient if you are not planning to install heavy disk using software’s such as Photoshop. Such software’s reduce the performance of your Virtual Machine if your Computer is not powerful enough.
Check Split Virtual Disk into multiple files. This is the default option. Say if you specify 60 GB, all of 60 GB will not be utilized or say 60 GB will not be blocked at once. These Virtual Disks expand according to the usage with a Maximum size you specifed as the disk capacity. On a fresh install normally it takes 10 GB of space which will grow according to the software’s you install in the VM.
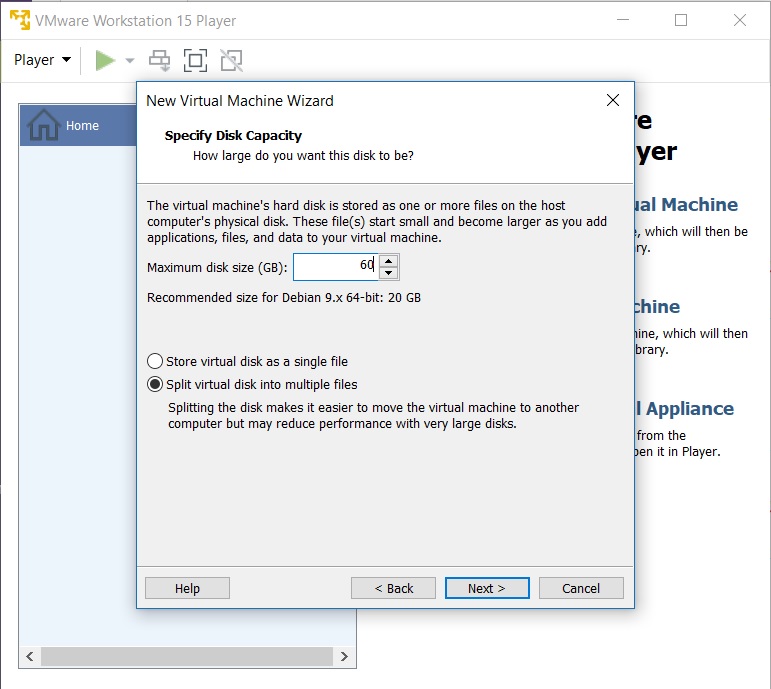
VMware Player 15 – Specify Disk Capacity
Step 10- Ready to create Virtual Machine Dialog Box
This is the final dialog box and what you see is all the options you have selected in previous dialog boxes.
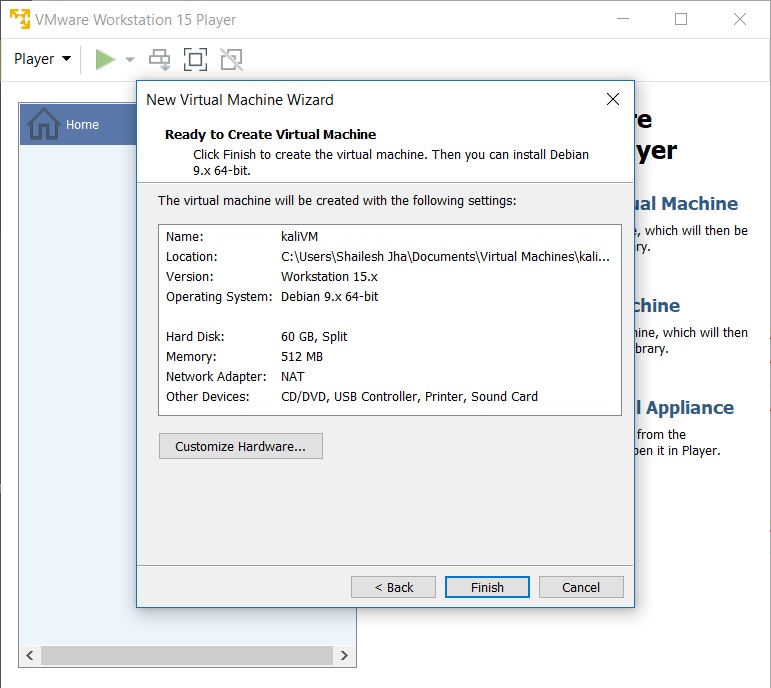
VMware Player 15 – Ready to create Virtual machine
Normally I increase the RAM and memory before clicking finish. This helps to finish the installation process faster. If you have sufficient RAM and CPU on your host Windows machine, I suggest even you should increase RAM and CPU. To increase the RAM, before clicking Finish, click on customize hardware. Increase the memory using the slider.
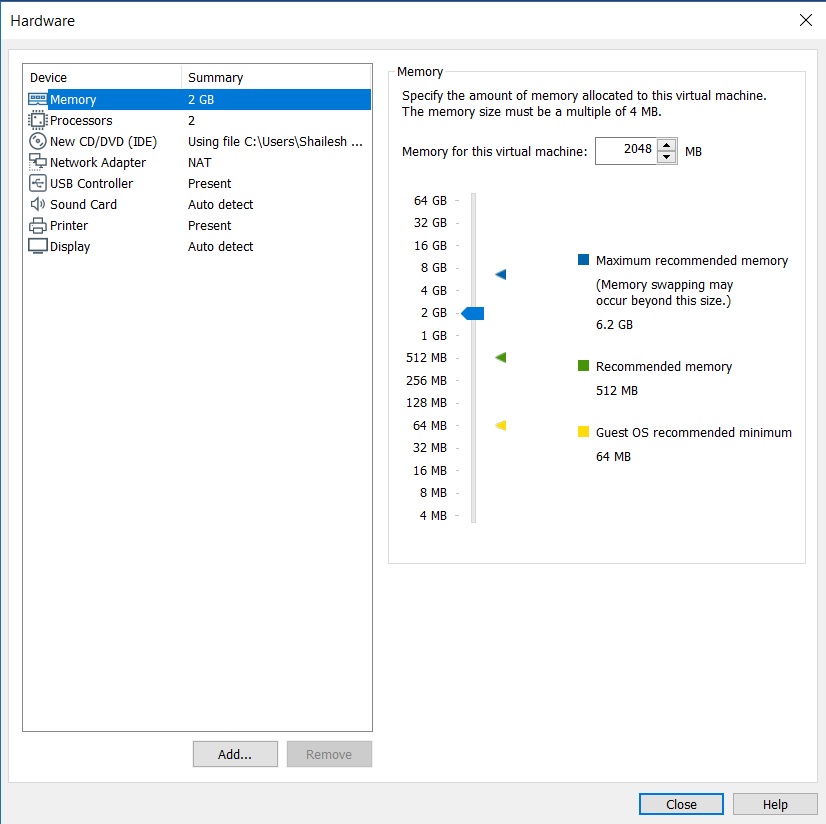
VMware Player – Virtual machine Memory Settings
To increase the CPU, Enter the number of cores. I normally enter 2. Click on Finish to start the installation process.

VMware Player – Virtual machine processors setting
Click on Close and Finish to start the installation process
Step 11 – Play Virtual Machine
Now you will have to click on play virtual machine to start the process.
VMware Player 15 – Play Virtual machine
Step 12 – Select Graphical Install from Boot Menu
Here you will see many options. Select Graphical Install using the down arrow key and click continue.
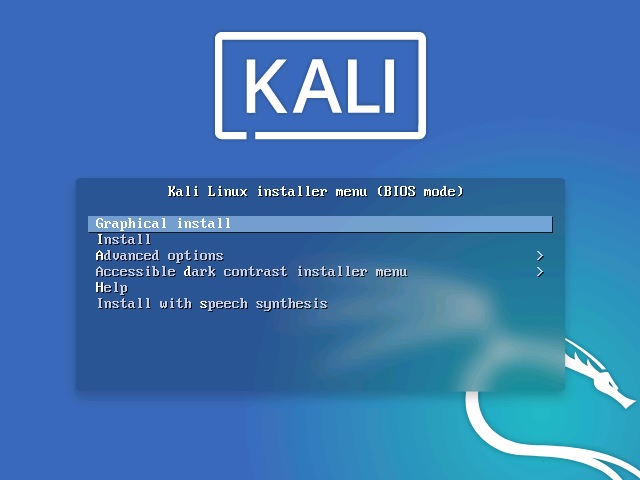
Kali linux installation boot menu screenshot
Step 13 – Select a Language
In this dialog box you will be asked to select a language. Please select a language and continue. This option sets your language in the Kali Linux Operating system. Default is English.
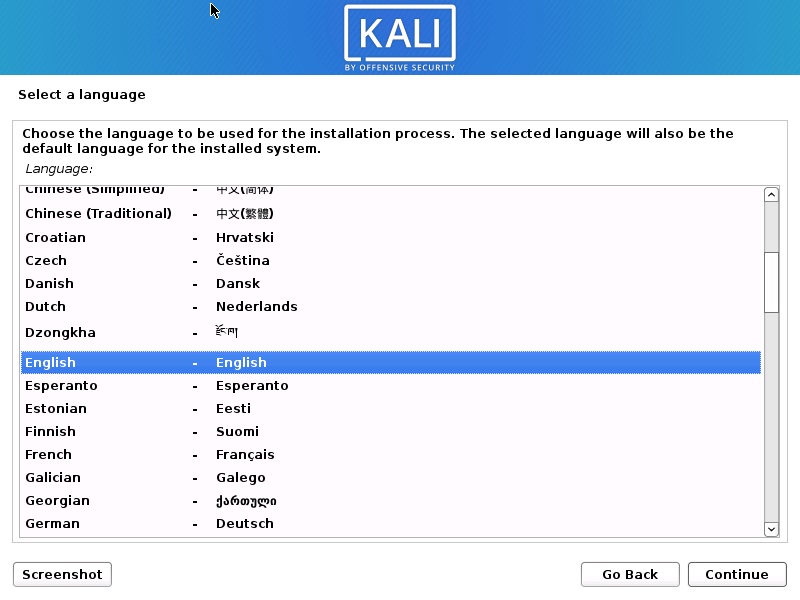
Install Kali Linux 2020 – Select a Language Screenshot
Step 14 – Select Location
In this dialog box you will be asked to select a Location. Please select a location and continue. This option sets your Location in the Kali Linux Operating system. later on, you will be able to set the time zone based on the location you choose here.

Install Kali Linux 2020 – Select Location Screenshot
Step 15 – Configure the Keyboard
In this dialog box you will be asked to select the keyboard layout. Please select a Keyboard layout using the arrow keys and click continue. This option sets your Keyboard in the Kali Linux Operating system. By default it is set to American English.
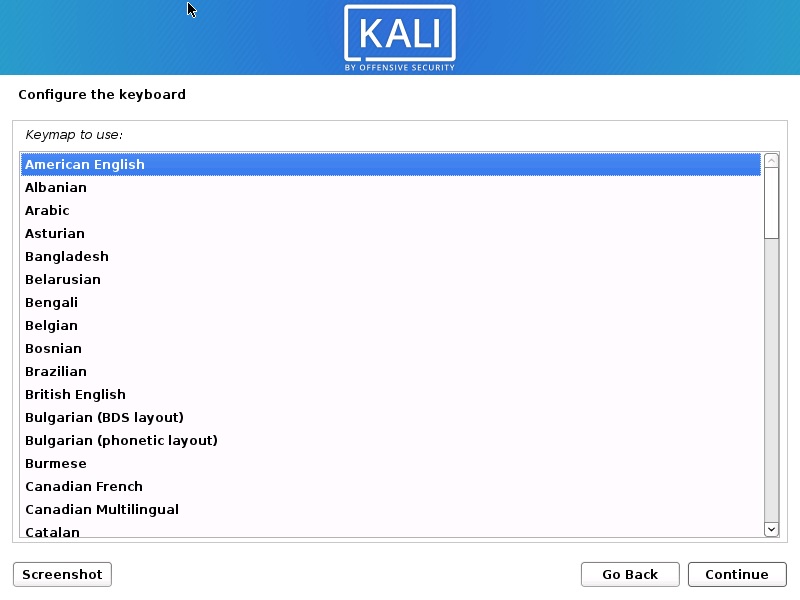
Install Kali Linux 2020 – Configure keyboard Screenshot
After you click continue, you will see the installation progresses for some them you see the Network Configuration dialog box, which is the next step.
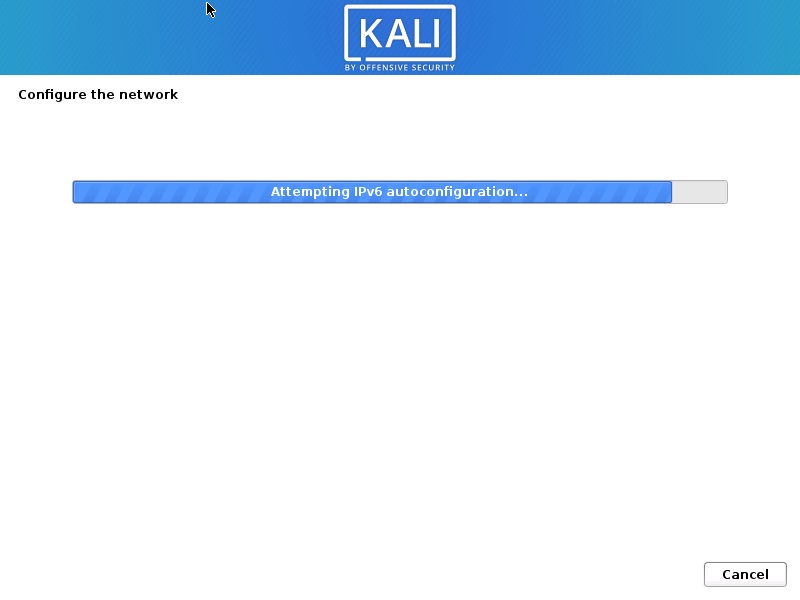
Install Kali Linux 2020 – Installation progress Screenshot
Step 16 – Configure the Network – Enter Hostname
In this dialog box you will be asked to enter the hostname for your system. This being a home network, we can set anything. Enter any anything and click continue.

Install Kali Linux 2020 – Configure the Network Screenshot
Step 17 – Configure the Network – Enter domain name
In this dialog box you will be asked to enter the domain name for your system. This being a home network, we can set anything like example.com
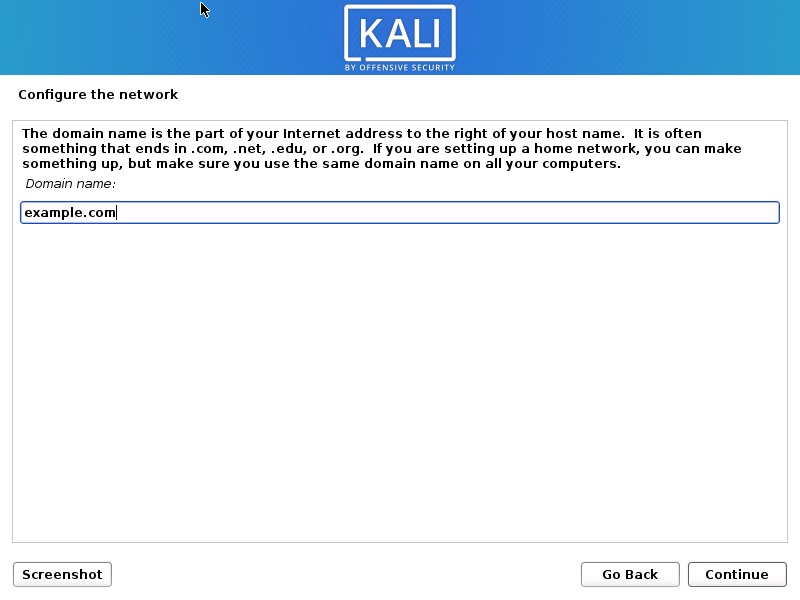
Install Kali Linux 2020 – Configure the Network- Enter Domain Name Screenshot
Step 18 – Set User account and password
In this dialog box you will be asked create an account other than the root user. Please note that this is the user other than the root user. Please type your name and click continue
Install Kali Linux 2020 – Set up Users account Screenshot
Now you will be asked to provide the user name again. I use the same name as the account name in the previous screen.
Install Kali Linux 2020 – Set up Users name Screenshot
You will be asked to setup a password of the user you created. Enter the password. We will login with this username and password once the installation completes.
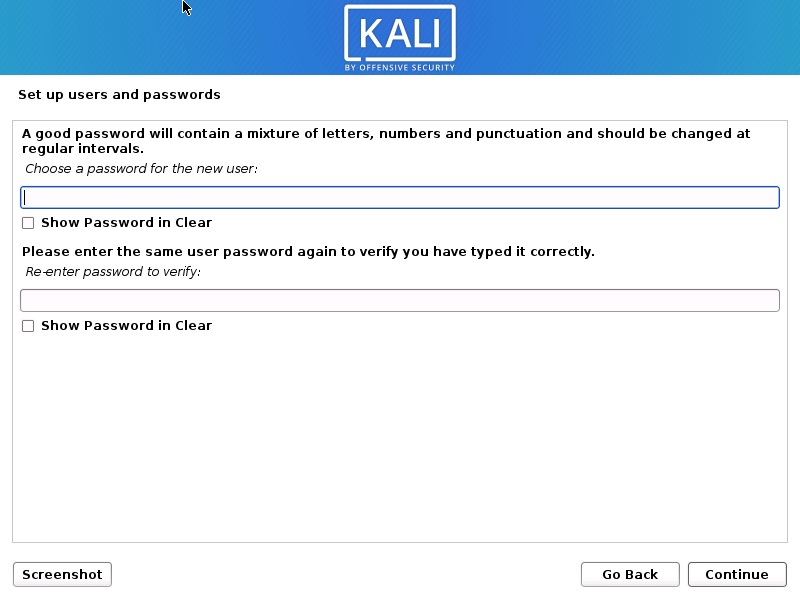
Kali Linux Installation – set user password
Step 19 – Configure Clock
In this dialog box you will be asked to time zone based on the location you selected earlier. Please enter a time zone of your choice and click continue.
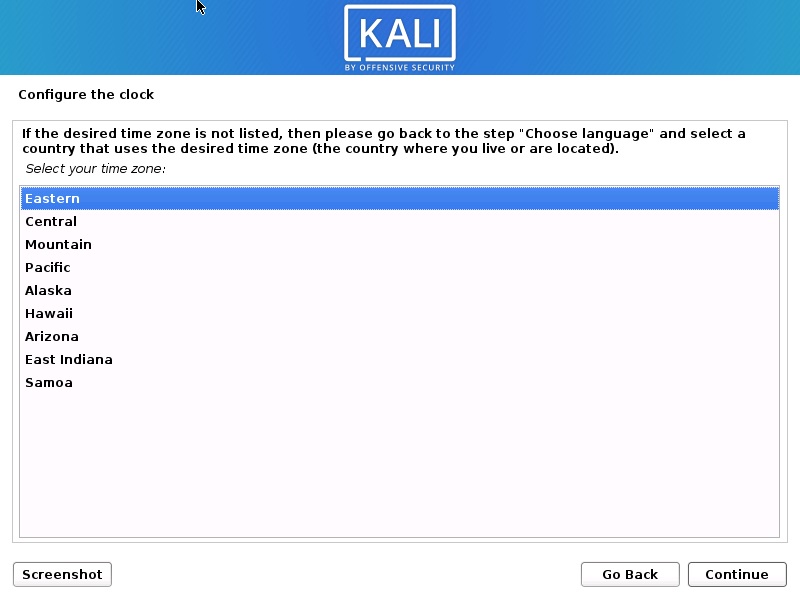
Install Kali Linux 2020 – Configure Clock Screenshot
Step 20 – Partition Disk
In this dialog box you are asked how you would like to partition your disk. Select Guided – Use entire disk and click continue. This is the default option.
Install Kali Linux 2020 – Select Disk to Partition Screenshot
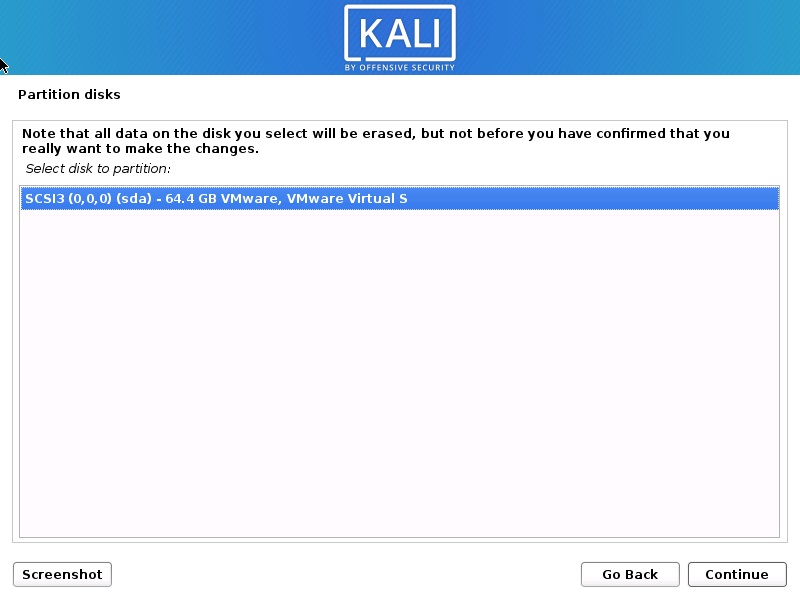
In this dialog box you are asked to select a disk to partition. Select sda, VMware Virtual disk. There should be only one option. Click Continue.
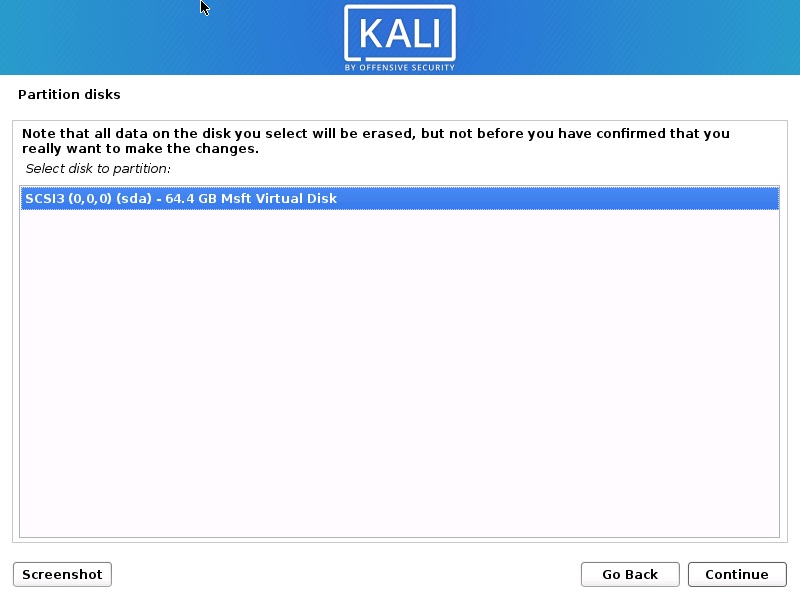
Install Kali Linux 2020 – Select Disk to Partition Screenshot
Step 21 – Select partition scheme
In this dialog box you are asked to select a scheme for disk partition. Select the default, All files in one partition and click Continue.

Install Kali Linux 2020 – Disk Partitioning Scheme Screenshot
Step 22 – Disk partition Overview
In this dialog box you are see the summary of your disk partition. Select the Finish Partitioning and Write changes to disk which should be selected by default. All you have to do is to click continue.
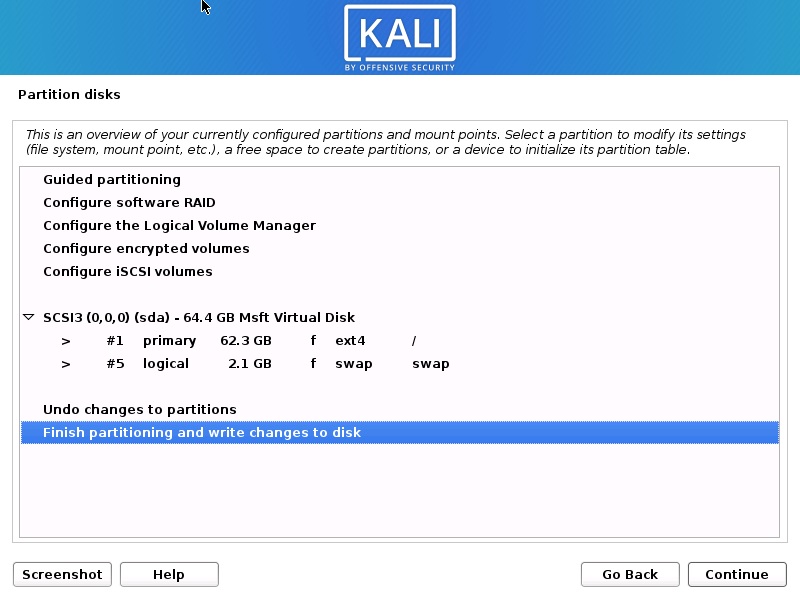
Install Kali Linux 2020 – Disk Partition Overview Screenshot
Step 23 – Disk partition Confirmation
In this dialog you are asked to confirm Write changes to disk. Select yes and click continue.
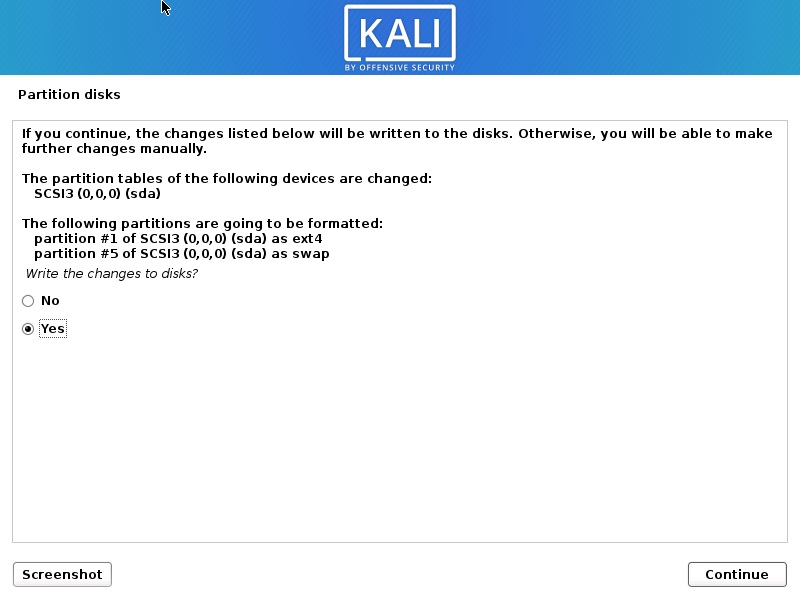
Install Kali Linux 2020 – Disk Partition Confirmation Screenshot
Step 24 – Installation starts
Now the actual installation starts. Wait for Configure the Package Manager Dialog box to appear.
Kali Linux – Installation begins
Step 25 – Configure the package manager – HTTP Proxy
In this dialog box you will ask if you wish to HTTP proxy. Leave it blank and click continue.
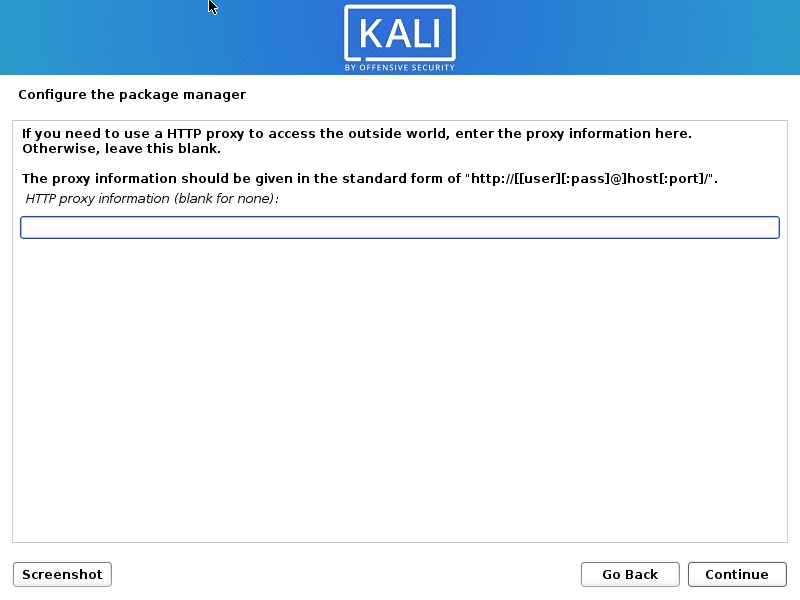
Install Kali Linux 2020 – Configure the Package Manager – HTTP proxy Screenshot
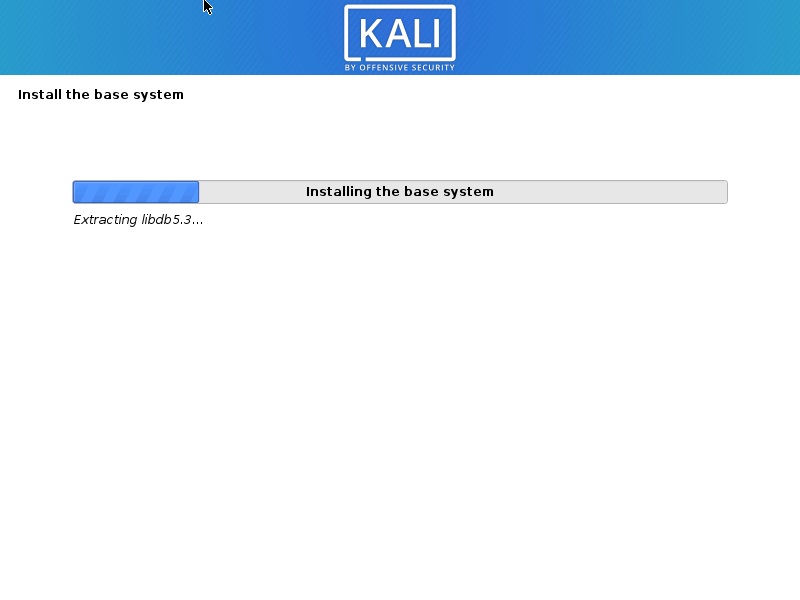
Installation process will continue. Wait for sometime and let the process continue.
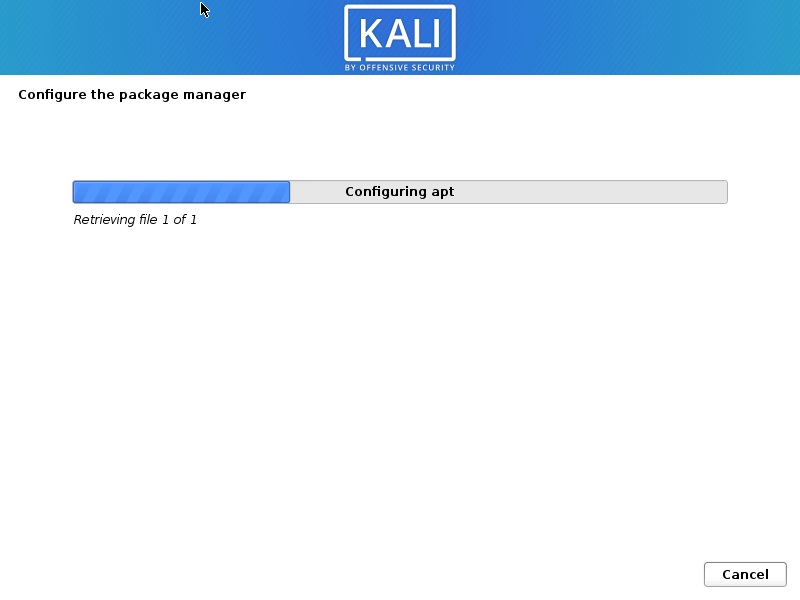
Kali Linux Installation
Installation will continue… please have patience.

Kali Linux 2020 Installation progress
Installation will continue. Wait for the process to complete. This can take a long time. So have patience.
Step 26 – Software Selection
In this screen, you will have to specify what software you want to install. I accept the default and accept it as it is. Click continue to proceed.

Kali Linux 2020 installation – Software selection
This step took around 2 hours to complete. So have patience
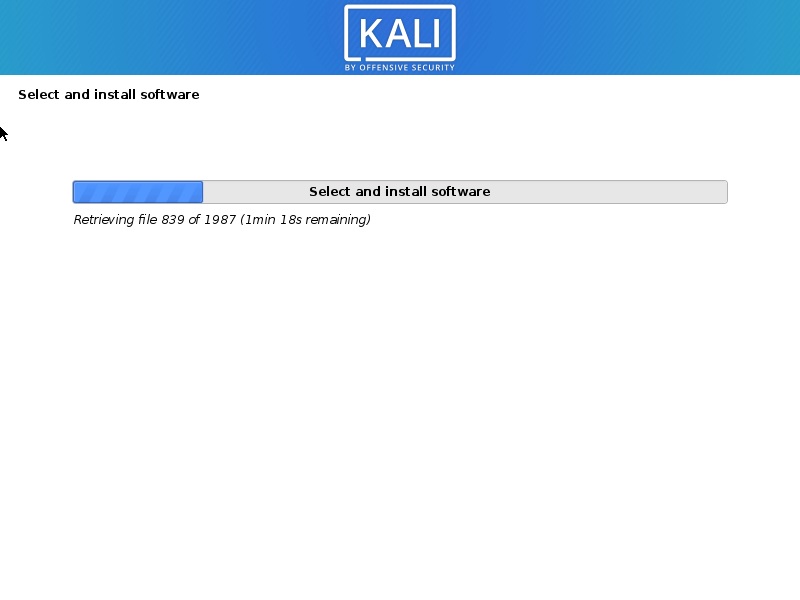
Kali Linux Installation progress
After all the files are retrieved, the installation will begin as shown in the below screenshot.
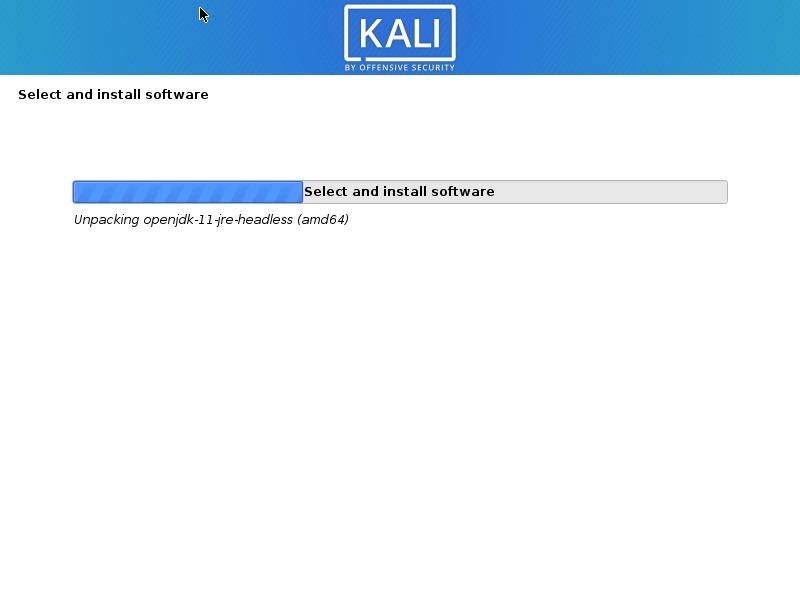
Kali Linux Installation progress
Step 27 – Install GRUB boot loader
In this dialog box you will be asked if you would like to install the GRUB boot loader. Select Yes and click Continue.
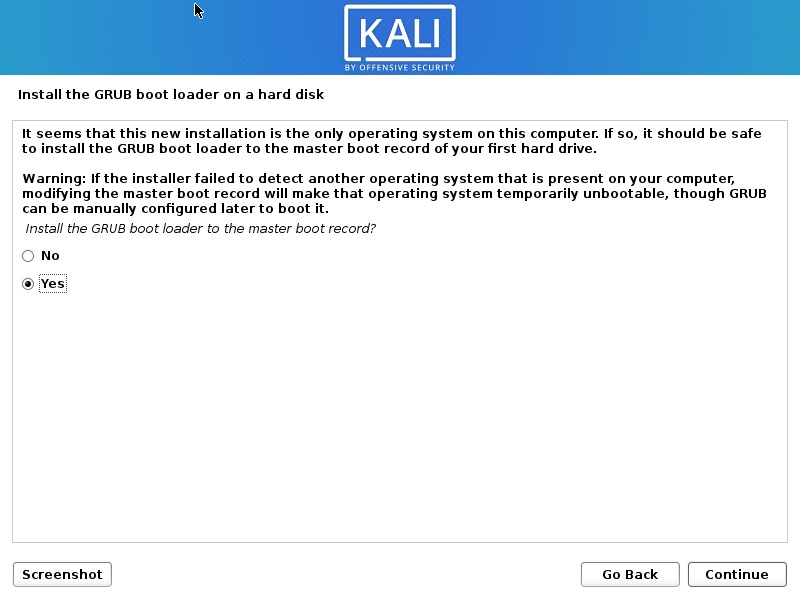
Install GRUB Boot Loader Screenshot
Step 28 – Select device for GRUB boot loader Installation
In this dialog box you will be asked to select boot loader device for GRUB installation. Select /dev/sda and click Continue.
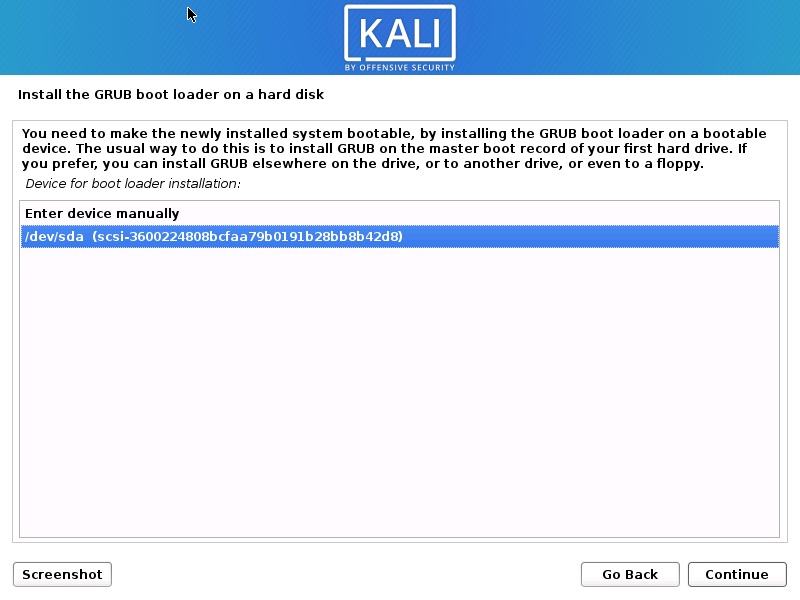
Select GRUB Boot Loader Device
Installation will continue. Wait for the process to complete.
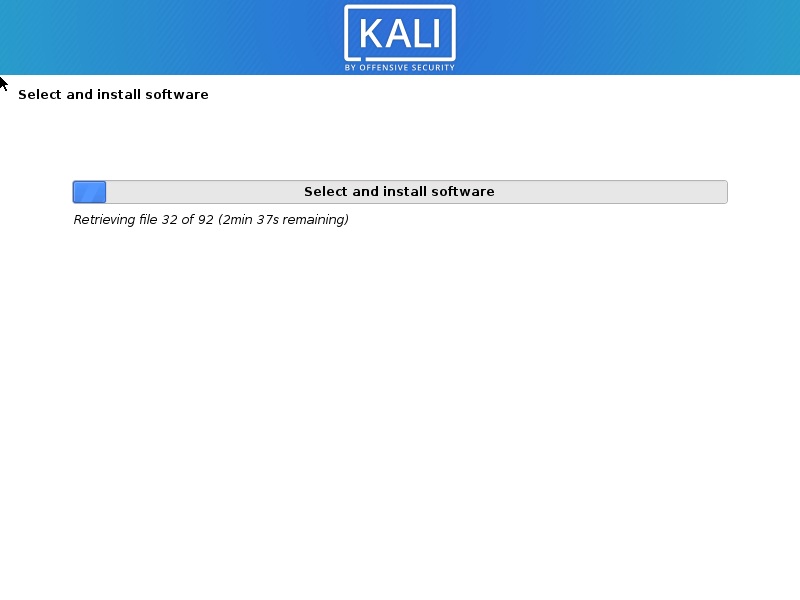
Kali Linux Installation progress
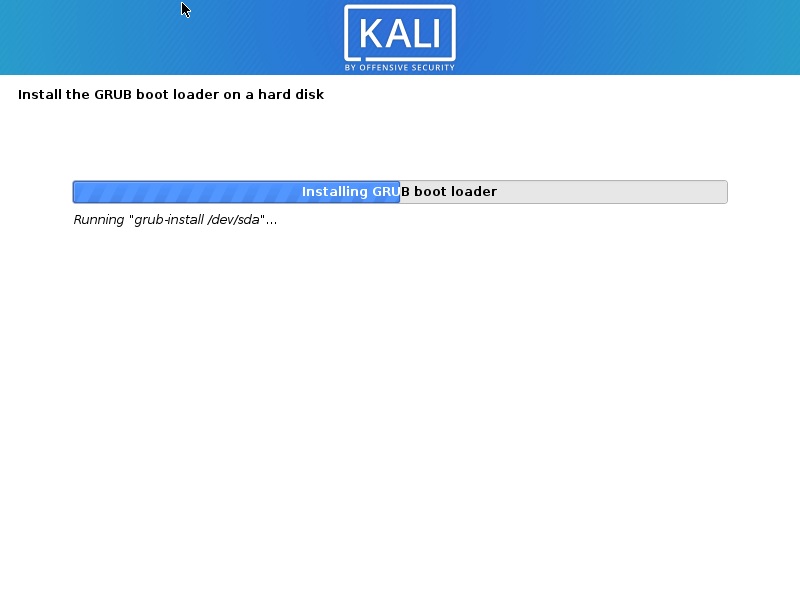
Kali Linux Installation progress
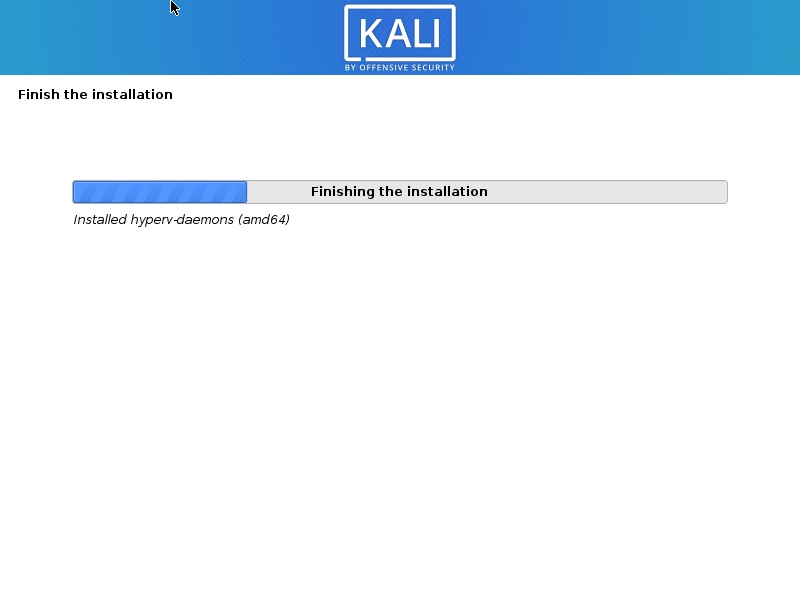
Kali Linux Installation progress
Step 29 – Installation Complete
Installation will continue and now you will see Installation complete dialog box. Click continue to finalize the installation and wait for the VM to reboot. After reboot you will see the boot loader screen.
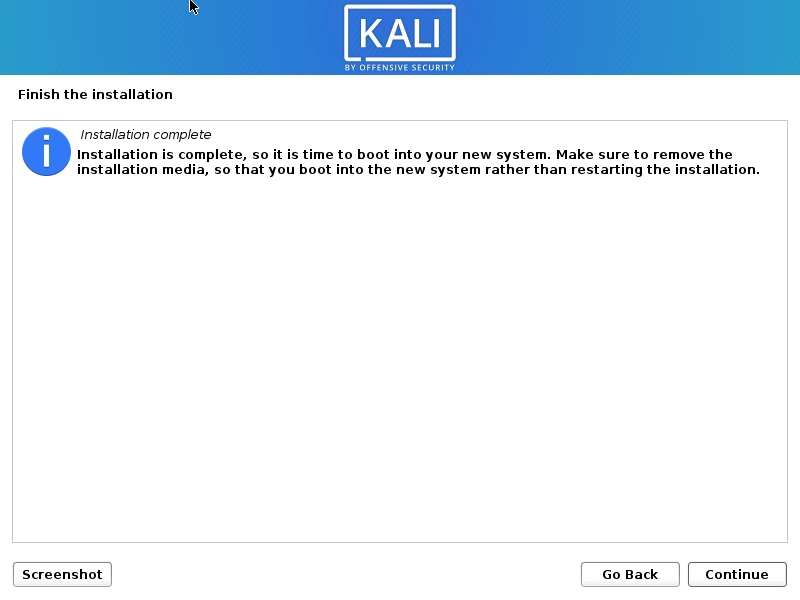
Install Kali Linux 2020 – Installation Complete Screenshot
Process Complete
After the VM starts, you will see the Grub boot loader. Select Kali GNU/Linux.
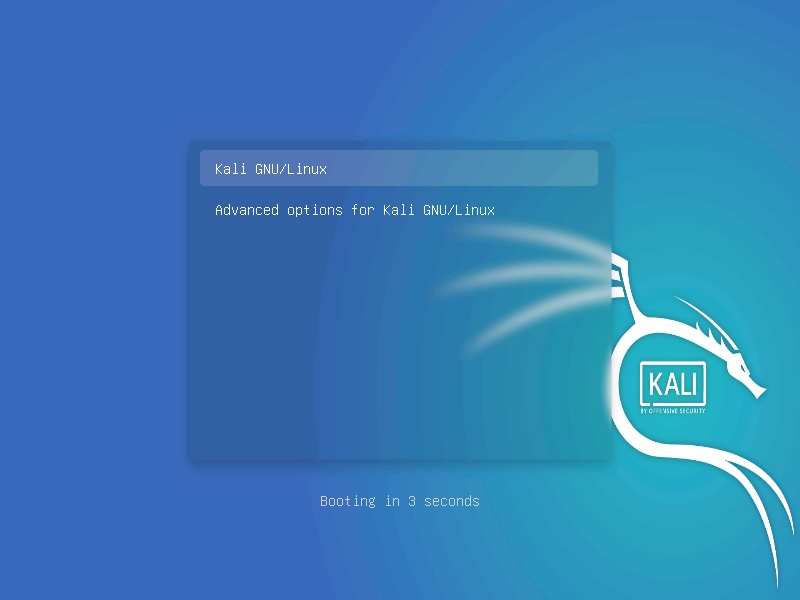
Kali Linux – Grub loader
Login with your credential you created. Enter your username and Password

Kali Linux login screen
You will be logged into Kali Desktop 2020.
Kali Linux home screen
Comments
Post a Comment